Intro to Docker for RStudio - Part 2
Austyn Trull and Lara Ianov, Ph.D.
Requirements
Review part 1 available in this website.
Build an image with dependencies from Bioconductor
Recently, Bioconductor adopted a new container architecture which streamlines using Docker with Bioconductor packages.
Directly from Bioconductor’s documentation, which I highly recommend to read (http://bioconductor.org/help/docker/), the following should be noted:
Goals for new container architecture
A few of our key goals to migrate to a new set of Docker containers are, * to keep the image size being shipped by the Bioconductor team at a manageable size. * easy to extend, so developers can just use a single image to inherit and build their docker image. * easy to maintain, by streamlining the docker inheritance chain. * Adopt a “best practices” outline so that new community contributed docker images get reviewed and follow standards. * Adopt a deprecation policy and life cycle for images similar to Bioconductor packages. * Replicate the Linux build machines (malbec2) on the bioconductor/bioconductor_docker:devel image as closely as possible. While this is not fully possible just yet, this image can be used by maintainers who wish to reproduce errors seen on the Bioconductor Linux build machine and as a helpful debugging tool.
Further:
Current Containers
For each supported version of Bioconductor, we provide: * bioconductor/bioconductor_docker:RELEASE_X_Y * bioconductor/bioconductor_docker:devel
Thus, if you have package dependencies from Bioconductor, it’s highly
recommended to use the Bioconductor container which are built using
rocker rstudio containers (see the FROM directive in the Bioconductor
Dockerfile). This streamlined resource saves effort for users from
having to troubleshoot potential issues that might arise from using
Bioconductor resources in Docker (e.g.: missing Bioconductor
dependencies).
NOTE: As mentioned above, Biconductor containers are
released based on Bioconducor releases
(bioconductor/bioconductor_docker:RELEASE_X_Y), keeping in
mind that each bioconductor release is linked to specific R versions.
Thus, when choosing a container repository, use the following release
history to track down R versions compatible with the Bioconductor
releases: https://www.bioconductor.org/about/release-announcements/
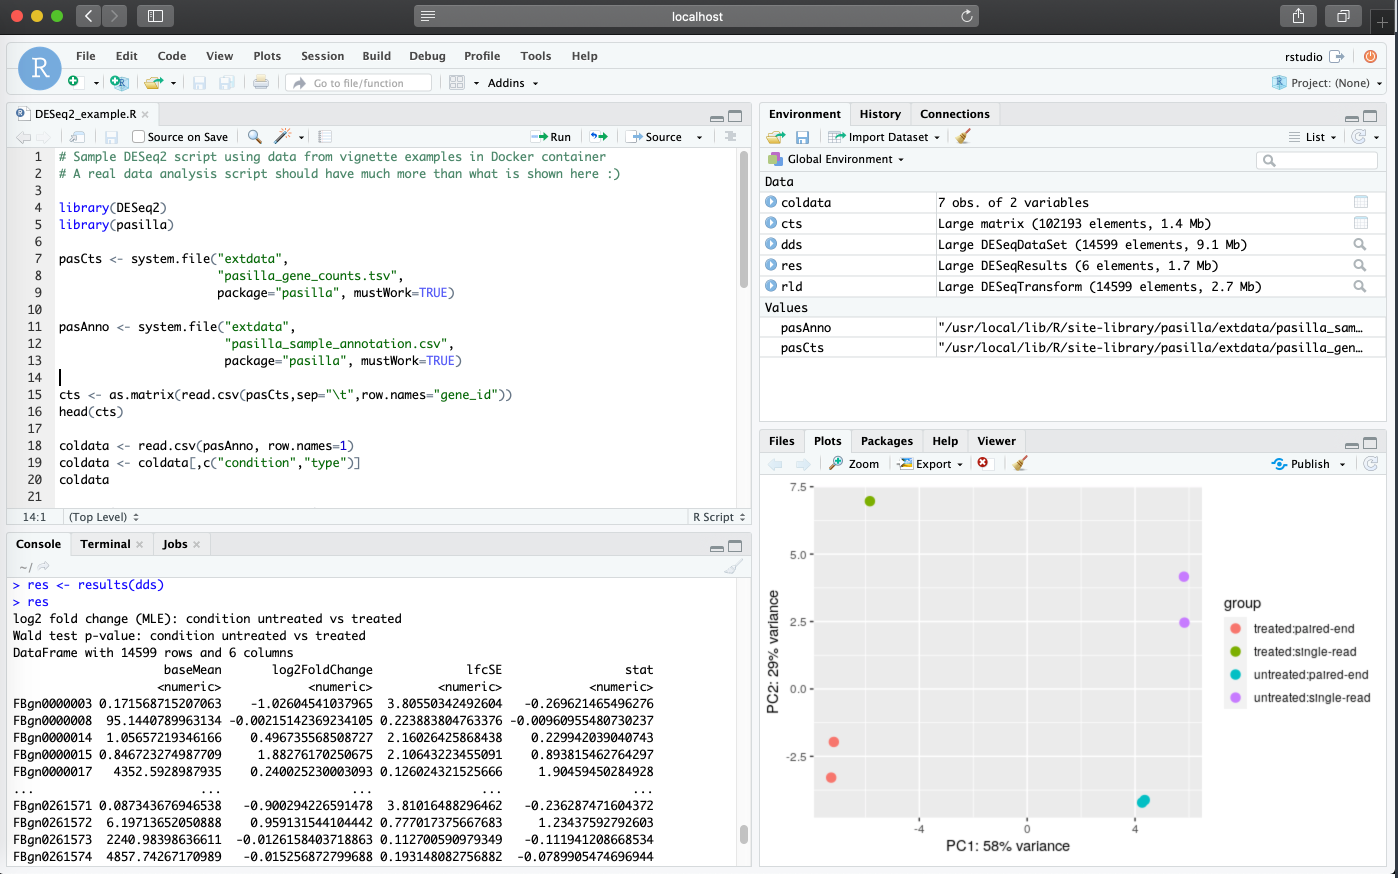
The following defines the Dockerfile with Bioconductor release 3.10
(linked to R version 3.6), along with installations (with
BiocManager::install) for Bioconductor packages
DESeq2 and pasilla. I am also adding a few
CRAN packages via the standard R install function
install.packages to simply demonstrate that you can still
install any non-bioconductor dependencies in the same form you would
normally do without using the Bioconductor parent image.
FROM bioconductor/bioconductor_docker:RELEASE_3_10

# LABEL adds metadata to an image:
LABEL maintainer="Lara Ianov <lianov@uab.edu>"
LABEL description="An environment for running DESeq2 from Bioconductor 3.10"

# a location to mount ...(again optional to do this in the Dockerfile)
RUN mkdir /home/rstudio/DESeq2_analysis

# Install Bioconductor and other commonly used CRAN packages in DESeq2...
# NOTE that you can install CRAN packages with BiocManager::install, but below
# installing CRAN with install.packages as example
RUN R -e 'BiocManager::install(c("DESeq2", "pasilla"))'
RUN R -e 'install.packages(c("readr","ggrepel","pheatmap"))'
Note I have added the LABEL directive. This adds
metadata to the image which can be fetched with
docker image inspect command. While not required, it can be
helpful to add relevant information in this field.
Now build the image and run the container in the same form as shown
in Part 1 (once again assuming you are in the directory which contains
the Dockerfile shown in this part. You can find it at the
./src/intro_to_docker_part2 of the GitHub
repository which contains this material):
docker build --rm --force-rm -t rstudio_deseq2:3.10 .docker run -d --rm -p 8787:8787 -e PASSWORD=NBI -v `pwd`/dir_for_mounting:/home/rstudio/DESeq2_analysis rstudio_deseq2:3.10(For this example I am adding the R analysis script to
dir_for_mounting instead of copying it to the container
with the COPY directive. Further as we are using the
pasilla dataset, there is no external data here, but this
directory could also be used to add your own datasets.)
The RStudio session is now available at
localhost:8787
Pushing images to Docker Hub
To easily share your images with others, use Docker Hub as the registry to distribute publish images. I recommend to read Docker Getting Started documentation on Sharing the application if you have not done so, but here, I briefly cover the steps to publish the Bioconductor image which was just created:
Create a repository in Docker Hub by navigating to “Repositories > Create”. Provide a name and click “Create”. Note that images must be namespaced correctly to be shared in Docker Hub following:
<Your Docker ID>/<Repository Name>:<tag>Tag and push the image:
docker tag rstudio_deseq2:3.10 <Your Docker ID>/rstudio_deseq2:3.10docker push <Your Docker ID>/rstudio_deseq2:3.10- Add any documentation necessary in the README section under “Manage Repository”.
The same container we created in this session is available at: https://hub.docker.com/r/lianov/rstudio_deseq2
Inspecting an image history
A very useful command to your own images and others publicly
available is docker history (https://docs.docker.com/engine/reference/commandline/history/).
It allows you to inspect the history of the image, including the
specific commands called from the Dockerfile.
docker history --no-trunc <image:tag> expands the
outputs for further details.
Using a custom RStudio preference file (RStudio >=1.3)
By default, RStudio containers are launched with the default RStudio defaults as seen in the figures discussed in the above sections.
As of RStudio v1.3, for a more customized experience
(where you may want to set a different RStudio behavior for rmarkdown
documents, syntax highlight preferences, custom panel locations, themes
etc.), you can bind a custom RStudio preference JSON file
(rstudio-prefs.json) to automatically apply preferences
specified in the JSON file. An example json file can be found in the GitHub
of this training guide, however, if you already have set preferences
in your personal computer, you may likely find one in RStudio’s default
location in your computer (e.g.:
$HOME/.config/rstudio/rstudio-prefs.json)
The following is an example run where the
rstudio-prefs.json is used to automatically apply personal
preferences with a sample screenshot shown below the command. In this
case, some noticeable changes are: theme, syntax highlights, and panel
locations. However, additional functionality set by the json file is
also present in this session (note we do not use the
sample container built above rstudio_deseq2:3.10, as the
RStudio version of that container is < 1.3 ; this functionality
requires image with RStudio >=1.3):
docker run -d --rm -p 8787:8787 -e PASSWORD=NBI -v $HOME/.config/rstudio/rstudio-prefs.json:/home/rstudio/.config/rstudio/rstudio-prefs.json rocker/rstudio:latest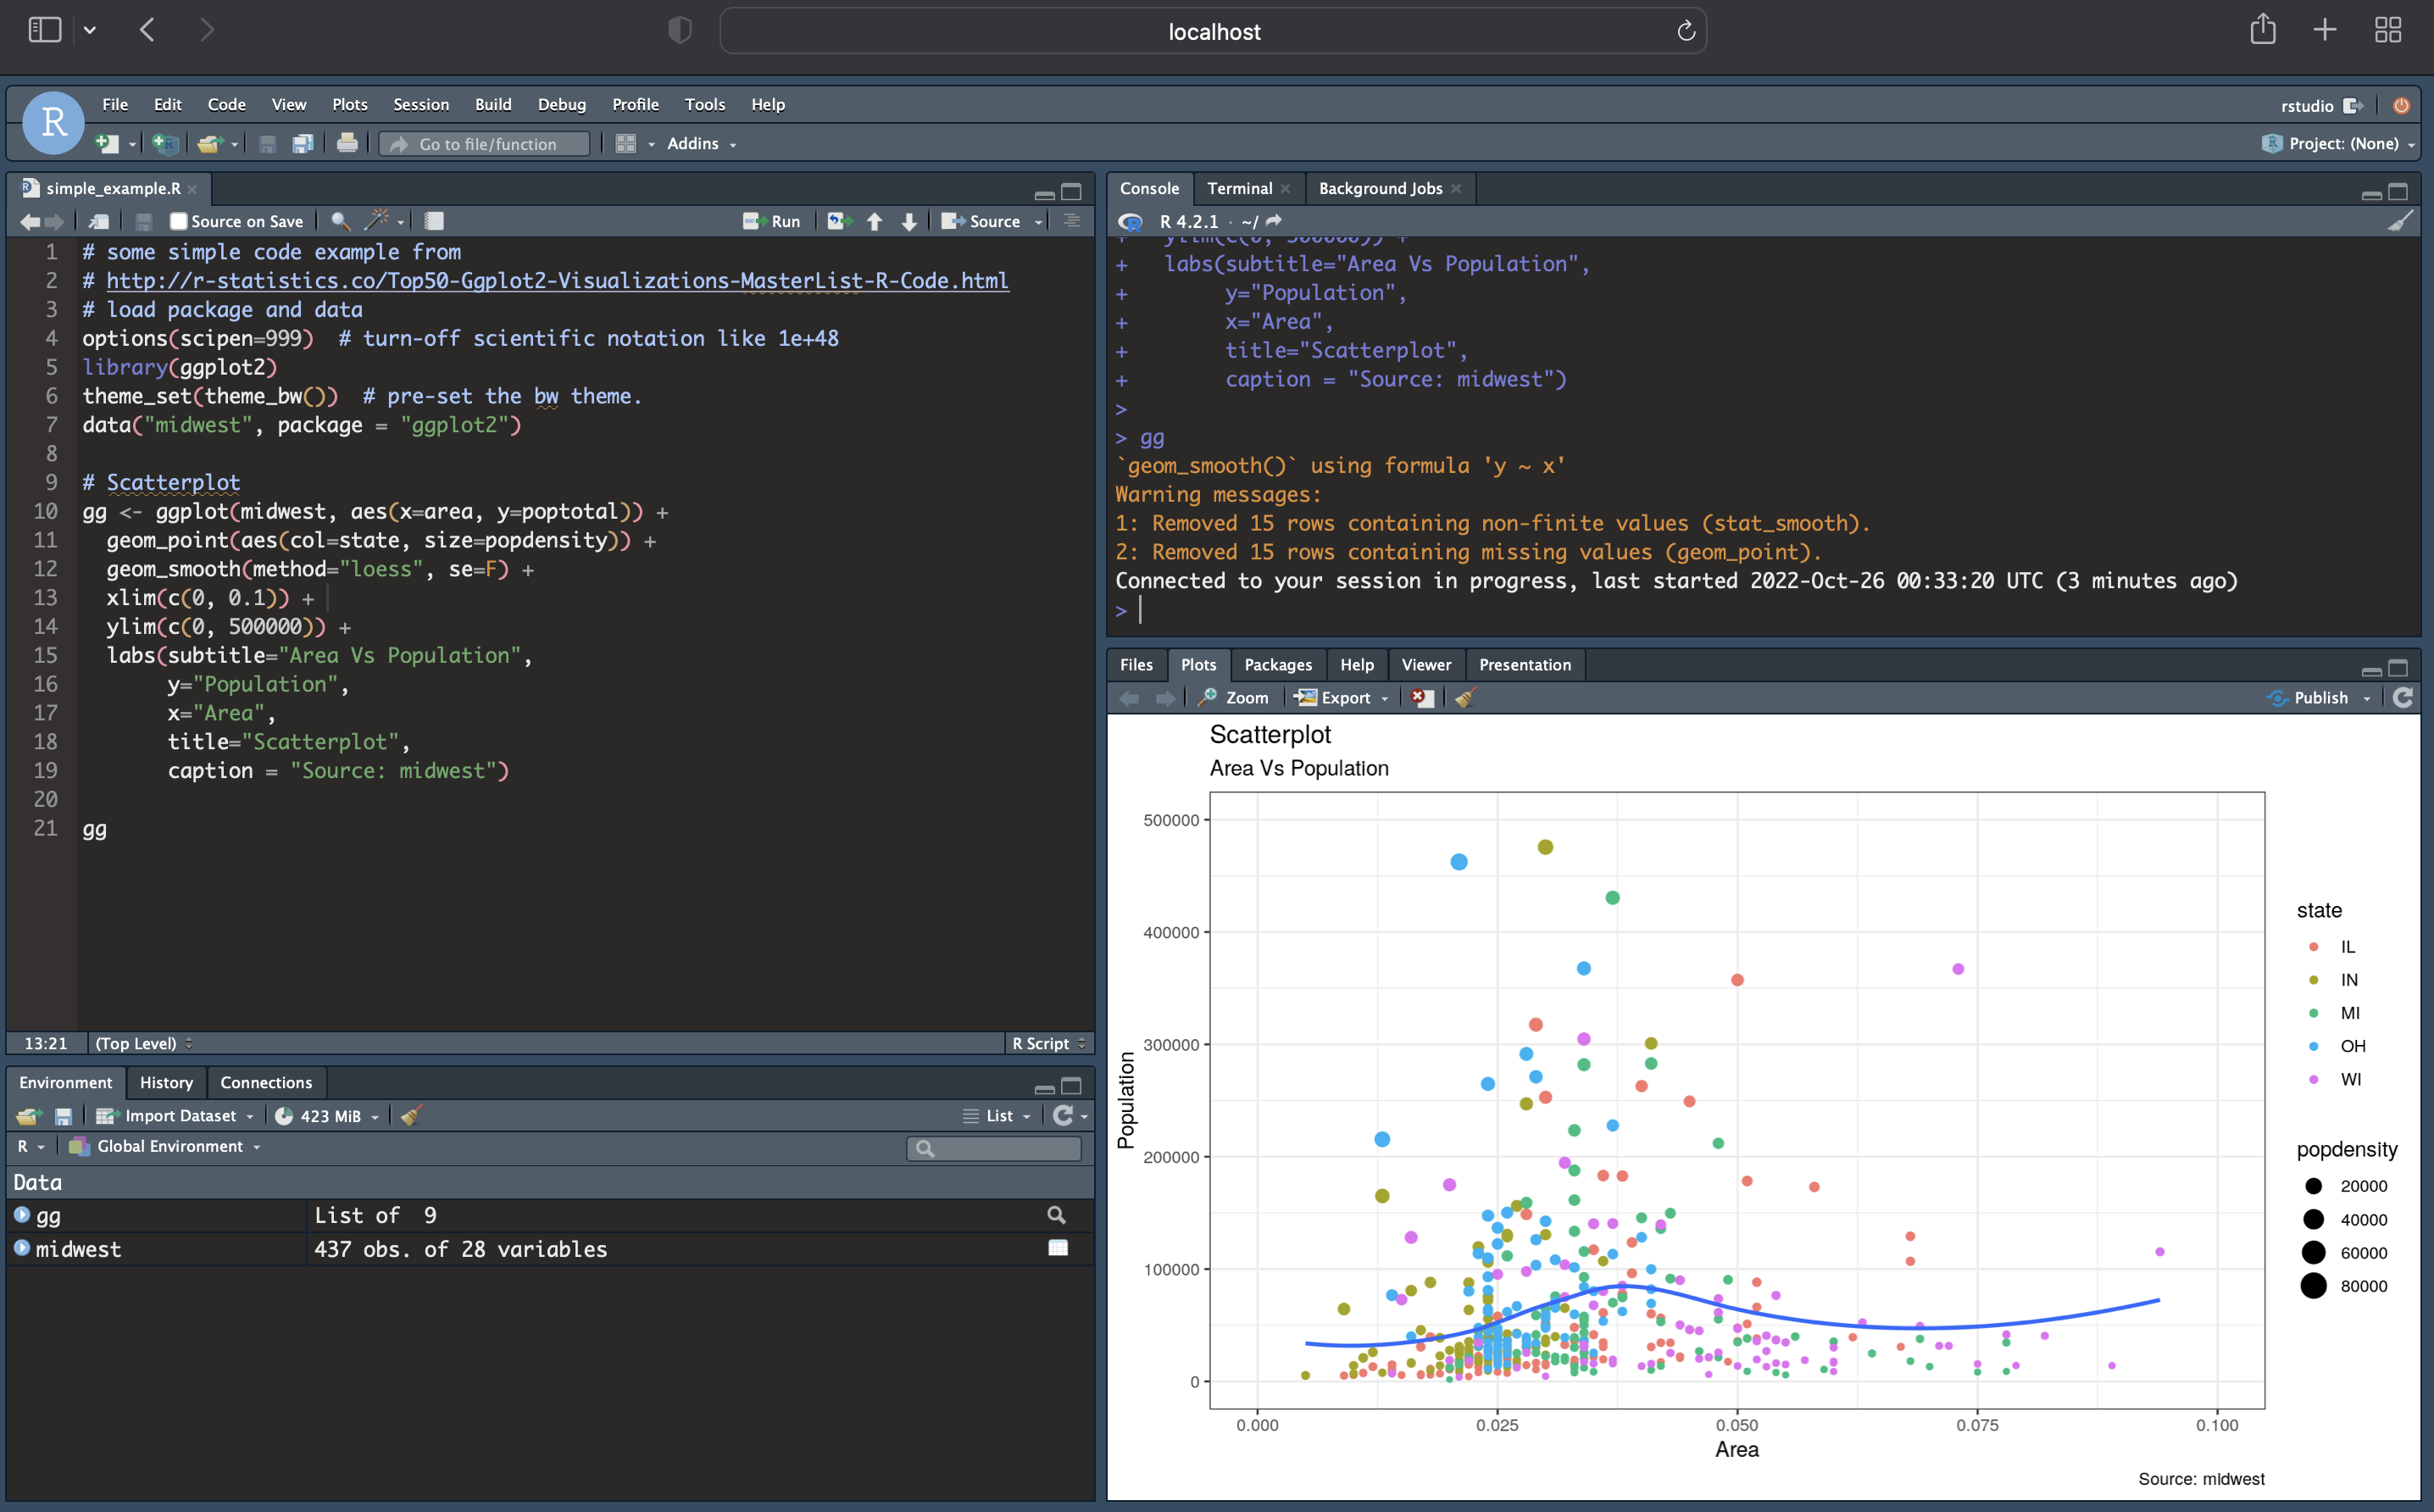
Additional Notes
- Be aware that M1 chip Mac computers had an issue linked to rocker
images which is now resolved (please see the list of issues below for
more details). Our general recommendation for M1 chip users is to pull
images which are equal or greater than the following versions:
rocker/rstudio:4, rocker/rstudio:4.3,rocker/rstudio:4.3.1 (they all have
the same sha256:
eb26ffeeb423e96e47ed0ad8d176612e90a0b5188251c5d7c8f8df0741fd58e9). Any future images of this type are also expected to work in M1 chips for rstudio (please let us know if you encounter any issues).
Important: if you plan on using your Docker image as
a Singularity image after conversion for HPC use, you should add the
following to your build command: --platform=linux/amd64
- Linked below are a some github issues that are worth noting related to the original M1 chip issue:
- Be aware of disk space for Docker images. When pulling images, they
can easily add up to a substantial number if left unchecked. Users can
limit available disk space for Docker through the advanced settings.
Furthermore, be aware of Docker’s cache space. When needed, users can
free up disk space from cache using the
docker builder prunecommand (e.g.:docker builder prune -afwould remove everything, thus push your images to Docker Hub first!)
Additional Docker Learning Resources
By default, Docker uses only a subset of your computational resources available. See the following for more information on how to change the settings such as assigning more memory: https://stackoverflow.com/questions/44533319/how-to-assign-more-memory-to-docker-container
The following tutorial covers some of the basics we also covered, but it also briefly discussing how to use Docker in AWS: https://mdneuzerling.com/post/user-getting-started-with-r-and-docker/
You may also consider using package installation methods that also specify a package version if needed (just check
sessionInfo()once you load the packages during initial build):
RUN R -e "install.packages('remotes'); \
  remotes::install_version('<package_name>', '<package_version>')"
This is usually only needed for sources like CRAN, since Bioconductor follows a release schedule with packages being linked to specific releases.
- Ten simple rules for writing Dockerfiles for reproducible data science: https://doi.org/10.1371/journal.pcbi.1008316
Continue tutorial to part 3 from the drop down menu at the navigation bar of this website. This section will cover running RStudio containers in the UAB HPC with Singularity